grayhitandmiss
Member
- Joined
- Mar 14, 2004
- Messages
- 65
- Reaction score
- 0
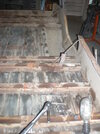
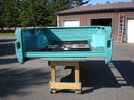
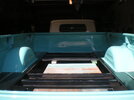
Looking for some knowlege on the best was to put my truck bed back together. The bed is off the truck, 100% disassymbled. I'm in the process of sandblasting the bed cross beams.
When putting things back together, do I bolt the cross beams to the frame, then continue adding pieces as I ready the panels etc?
or
Do I put it all together "off frame" somehow?
Would you primmer everything before assembly, and do the final
painting once all together, on the truck?
Of course, the outside of the front panel (by the cab) would have to be
top coated before assembly.
I know the whole bed will have to be squared up on the frame
before the boards are installed.
Thanks for any tips you have!