-
We have upgraded our forum software! See here for details.
You are using an out of date browser. It may not display this or other websites correctly.
You should upgrade or use an alternative browser.
You should upgrade or use an alternative browser.
Lakeroadsters' Build Thread: '65 SWB Step
- Thread starter Lakeroadster
- Start date
Lakeroadster
Member
Thanks guys... and thanks again Robert for helping by providing the dimensions of the OEM version.
Lakeroadster
Member
.... I look at the pristine clean concrete driveway and wonder if you maybe have electric powered oldies ? not an oil spot anywhere.
Cardboard Nate, cardboard. Every vehicle I own, that was built before 2002, has a 3 ft. wide piece of cardboard that runs the full length of the undercarriage, that I slide onto the concrete. These old Chevies sure do like to mark their territory
")
Last edited:
Yes indeedy ! .
My trouble is : I'm constantly swapping what's in what spot , I use those old timey metal drip pans but I still get oil spots , every month or so when I wash the cars or an engine , whatever , I try to wash the concrete too .
Smooth & clean concrete is any Mechanic's dream .
My trouble is : I'm constantly swapping what's in what spot , I use those old timey metal drip pans but I still get oil spots , every month or so when I wash the cars or an engine , whatever , I try to wash the concrete too .
Smooth & clean concrete is any Mechanic's dream .
Lakeroadster
Member
50 Chevy LS3
Member
I figured you did, but, I'm kinda surprised it doesn't have redline tires and chrome smoothies...I sure do Steve! A John Deere 265 with over 1000 hours on it. I used to spend about 7 hours a week on it when I lived in Ohio.
Now, here in Colorado, it's kind of like me, on "light duty". Maybe an hour of work a week, cutting grass - or pushing snow.... maybe or maybe not.


50 Chevy LS3
Member
Nate, and John, if I ever would win the lottery, I don't want a different house but I DO WANT A CONCRETE DRIVE!Cardboard Nate, cardboard. Every vehicle I own, that was built before 2002, has a 3 ft. wide piece of cardboard that runs the full length of the undercarriage, that I slide onto the concrete. These old Chevies sure do like to mark their territory
Dreams
Yes ~ .
Smooth 6" thick poured & rebar reinforced Concrete with a slight slope to the street , a drain on one side , and a NEW GARAGE TOO ! .
I currently have a 1923 'T' Model garage that's termite infested and ready to collapse , I;ve never even had a bicycle inside it .
.
Then maybe I'd have the broken foundation on my crappy house repaired .
First though , I have to take that sucker bet and buy Lotto tickets ! .
Yes ~ .
Smooth 6" thick poured & rebar reinforced Concrete with a slight slope to the street , a drain on one side , and a NEW GARAGE TOO ! .
I currently have a 1923 'T' Model garage that's termite infested and ready to collapse , I;ve never even had a bicycle inside it
.Then maybe I'd have the broken foundation on my crappy house repaired .
First though , I have to take that sucker bet and buy Lotto tickets !
.Lakeroadster
Member
Still Goofing Around With Side Trim.....
In preparation for adding the custom side trim I made a CAD template to layout the Chevy Emblem and grey stripes. Bel Air inspired...
CAD Model

CAD Drawing

Conceptualization

In preparation for adding the custom side trim I made a CAD template to layout the Chevy Emblem and grey stripes. Bel Air inspired...
CAD Model

CAD Drawing

Conceptualization
Last edited:
50 Chevy LS3
Member
Very cool...
John, that's looking real good! I also think the old style door lettering will really be cool, if you go ahead with it. Especially, if you do it with enamel, like the old days and then "age" it a little. Maybe a true old time dealer sign, like you had with period correct ad graphics. Possibly put in the old "ok" used cars round graphic. VERY NICE!
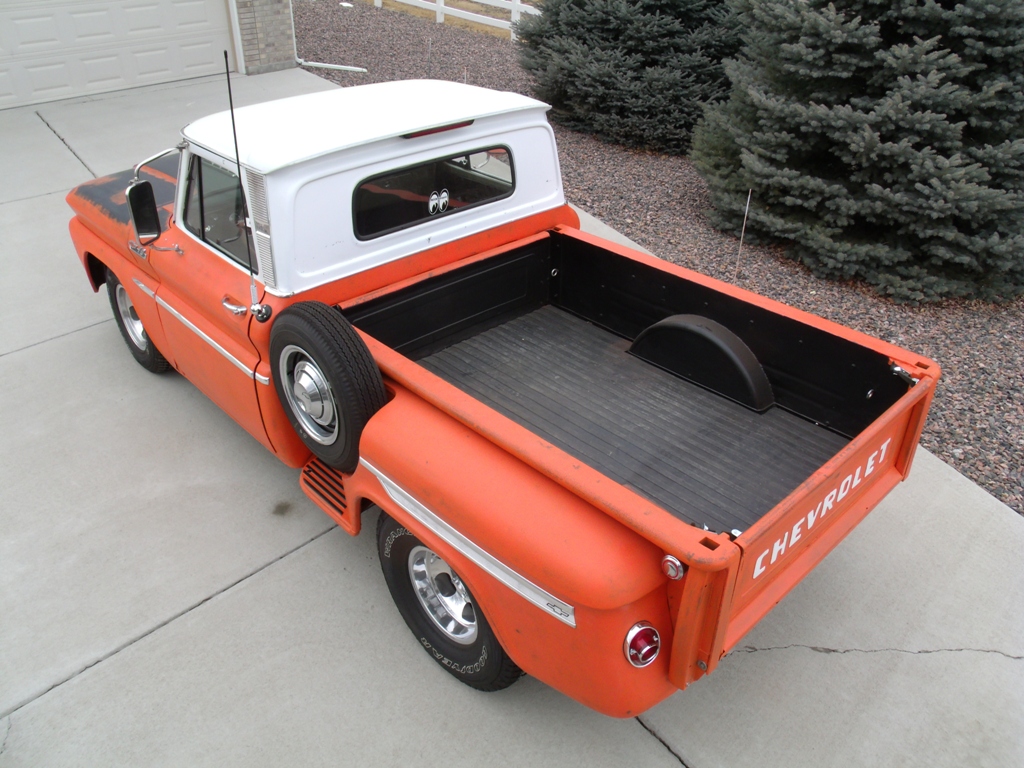
PS, the "dog dish" hub cap on your spare, from a 60s Camaro?
John, that's looking real good! I also think the old style door lettering will really be cool, if you go ahead with it. Especially, if you do it with enamel, like the old days and then "age" it a little. Maybe a true old time dealer sign, like you had with period correct ad graphics. Possibly put in the old "ok" used cars round graphic. VERY NICE!
PS, the "dog dish" hub cap on your spare, from a 60s Camaro?
Last edited:
Lakeroadster
Member
John, that's looking real good! ...
PS, the "dog dish" hub cap on your spare, from a 60s Camaro?
Thanks Steve.
The dog dish is indeed a late 60's early 70's piece. Nova's and Camaro's had them on base models and COPO's. I bought 4 of them decades ago, $10 for the set. I only have 2 left and both are slightly dented. Their $90 bucks a piece today for repro's
The dog dish is indeed a late 60's early 70's piece. Nova's and Camaro's had them on base models and COPO's. I bought 4 of them decades ago, $10 for the set. I only have 2 left and both are slightly dented. Their $90 bucks a piece today for repro's
Finished up the side trim drawings today. Hopefully I'll get some garage time, and mother nature will help with some warmer temp's.
I'll print off full size templates for locating the holes.


Here's a couple screen shots of the side trim CAD models.


Last edited:
Lakeroadster
Member
Side Trim - Layout - 01-16-2015
All I can say is wow. With these old trucks, nothing seems to be level with the world.
I ended up using some surveyors string to establish a center line for the trim and then used the rear fender body line and the front fender lip as reference points.
The tape is merely there so I could draw the trim center lines on the truck.


Lakeroadster
Member
Side Trim - Drilling, Priming and Painting
Drilled the holes for the door and rear fender trim fasteners. "R" Drill bit (0.339") for the wide trim on the doors and rear fenders, 1/4" dia. for the thin trim on the rear fenders.
To prep for the white paint between the rear fender trim 60 grit sandpaper was used. Using the Faux Patina method, same routine as I used on the rest of the truck, I applied primer and paint.


Pay Attention Boys !
Because you're watching a Master at Work and not many of them share trade secrets so freely .
I wish I had 1/10th of John's skillset .
Maybe he'll tell me how to repaint the raised " CHEVROLET " stamped into my i6 rockerbox....... .
I have no idea but I see so many done to perfection these days there's gotta be some fairly easy way .
Because you're watching a Master at Work and not many of them share trade secrets so freely .
I wish I had 1/10th of John's skillset .
Maybe he'll tell me how to repaint the raised " CHEVROLET " stamped into my i6 rockerbox.......
.I have no idea but I see so many done to perfection these days there's gotta be some fairly easy way .
Lakeroadster
Member
Nate... PM sent.
Last edited:
Rockerbox Letter Paint
Thank you John ;
I don't have anywhere near your skillset although I'd love to do this my own self .
As it turns , this rockerbox has a big dent in it'd very front corner so I won't be spending any $ having it done by a Shop , I'd still like it to look nice though .
Thank you John ;
I don't have anywhere near your skillset although I'd love to do this my own self .
As it turns , this rockerbox has a big dent in it'd very front corner so I won't be spending any $ having it done by a Shop , I'd still like it to look nice though .
Lakeroadster
Member
Side Trim - Done - Jan 2015
Sanded the white trim for faux patina effect:

Hammer formed the end of the wide trim:

Installed Wide Trim:

Installed Lengthened Narrow Trim:


Installed Bowties (vinyl cut courtesy of my buddy Doug, a.k.a. GMCDAC)

Photo Shoot


Sanded the white trim for faux patina effect:

Hammer formed the end of the wide trim:

Installed Wide Trim:

Installed Lengthened Narrow Trim:


Installed Bowties (vinyl cut courtesy of my buddy Doug, a.k.a. GMCDAC)

Photo Shoot


Last edited:
66 Truck Drive
Member
- Joined
- Jul 18, 2013
- Messages
- 142
- Reaction score
- 5
- Age
- 27
- Location
- Next to my bench at the shop, Oregon
Awesome job with the custom trim! 