50 Chevy LS3
Member
Steve -
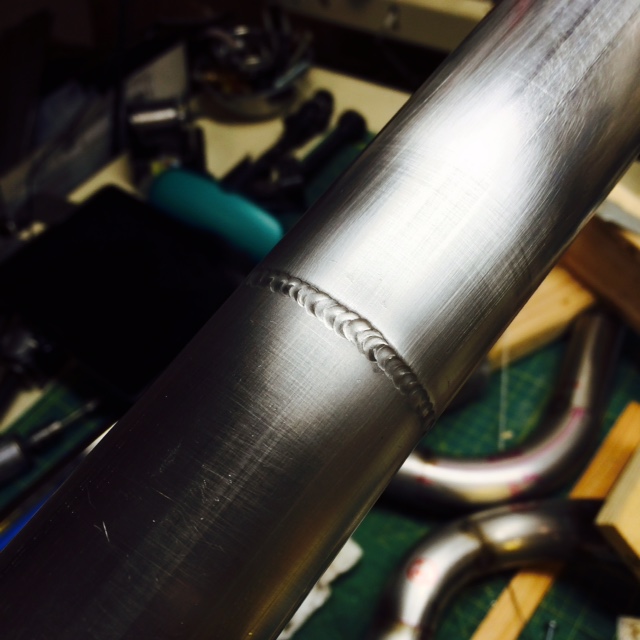
The tubs are just as you said, a trailer fender split down the middle. Believe they will cover up to a 28" diameter tire. I tig'd the skirt to the trailer fender and it produced a fair amount of distortion. I had to hammer the weld bead a bit to relieve the stress and get the skirt to lie flat and not oil-can
To mount it to the bed side, I bent up a piece of sheet metal to 90 deg with a 1.5" leg on each side, about 3' long. I have access to some stretch/shrink dies (harbor freight on a stand with a foot pedal) so I'll shrink one side so it fits the outer radius of the tub. The 90 degree piece will mount to the fender side of the bed and the tire side of the tub. I'll likely wait to mount it to the bedside to when I take it back to the paint shop - they have a spot welder which will produce minimal distortion. (It will be cleco'd together when it goes off to the paint shop)
For where the tub meets the bed wood, I'll use the same 90 degree doubler to create a flange, but won't be able to match the contour of the tub by shrinking it, so I'll have to weld it up out of sheet metal pieces cut/bent to the lip radius. I'll mount the tubs to the bed wood with carriage bolts and cover all my mistakes with seam sealer
Phil
When you finish weld these in, I would like some detailed photos, if you don't mind.
I thought about using a bead roller to form strengthening ribs in these thin gauge fenders. What do you think?
Steve.