• We have upgraded our forum software! See here for details.

'53 Chevy truck- Crazy Adventure

We installed new windshield glass a few months ago on my '49....

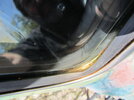
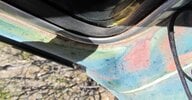
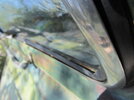
We used the Steele Reproductions rubber gasket ..... it fit better than the Chinese ones... except there is still that nagging bad fit at the tight turns at the bottom of the pillars.
 

Attachments

  • IMG_0619.jpg
    IMG_0619.jpg
    70.8 KB · Views: 451
  • IMG_0623.jpg
    IMG_0623.jpg
    78.1 KB · Views: 409
  • IMG_0624.jpg
    IMG_0624.jpg
    83.4 KB · Views: 477
  • IMG_0626.jpg
    IMG_0626.jpg
    62.6 KB · Views: 459
  • IMG_0622.jpg
    IMG_0622.jpg
    58.8 KB · Views: 426
Last edited:
We installed new windshield glass a few months ago on my '49....

We used the Steele Reproductions rubber gasket ..... it fit better than the Chinese ones... except there is still that nagging bad fit at the tight turns at the bottom of the pillars.


I hope to be able to install without much trouble.
I installed and uninstalled 10 times the windshield ... is not very nice :).

I saw your picture, and you've had the same problem.
I'm beginning to suspect that require a decrease in the central part of the glass,
maybe 2 mm for each glass......??

I'm realizing there's nothing :-)

We'll see :)

Thanks
 
Last edited:
Wonder if this would work out ?

Guys.
It seems the Steele fabricated rubber has the same problem as the chinese one i understand wich means that they need a responce on there product from the USA wich does`nt work well either. So my question is where to buy a rubber that fits excactly in the mean time ?

Would it be posseble to get a good tight solution when cutting the rubber in upper/down senter and use fast drying black building clue/silicon (rubber to steel) so the rubber sits tight against the inner window frame as it is covered with the outside window trims ? Then using building black clue/silicone where the cut is made ? Just wonder if this would work out ?

Martinius.
I hope to be able to install without much trouble.
I installed and uninstalled 10 times the windshield ... is not very nice :).

I saw your picture, and you've had the same problem.
I'm beginning to suspect that require a decrease in the central part of the glass,
maybe 2 mm for each glass......??

I'm realizing there's nothing :-)

We'll see :)

Thanks
 
Last edited:
Very nice work and build. You have much talent. What shop is doing your chrome?
 
Very nice work and build. You have much talent. What shop is doing your chrome?


Thanks Skipper.

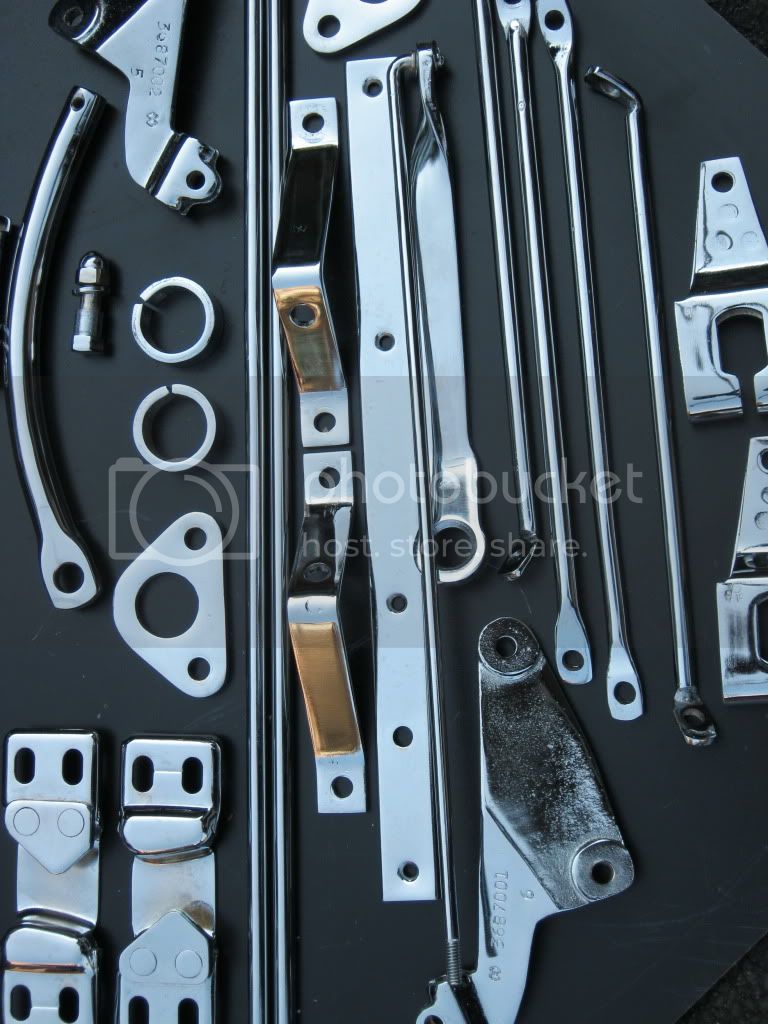
The shop that did my chrome is very expensive. For those pieces that you see in the picture (Only the first photo, not the second) and the inner windshield molding
I waited 3 months and I spent 390$


Frank
 
Last edited:
Suggest that you give them a call and ask them to send you a new one or ...!

On behave of all truckowners you could give them a call and tell them in a polite way that many people are buying this unuseless shit. They could either give you a new one without a defect or pulled them selves together and make a product that is usefull. As many truckowners neeed these rubbers to buy in the future and many complains will come elsewhere.

Martinius.
We installed new windshield glass a few months ago on my '49....

We used the Steele Reproductions rubber gasket ..... it fit better than the Chinese ones... except there is still that nagging bad fit at the tight turns at the bottom of the pillars.
 
Frank~ Your truck is BEAUTIFUL!!! That chrome looks fantastic, as far as I'm concerned. Pricey, yes~ But WOW!!!
 
On behave of all truckowners you could give them a call and tell them in a polite way that many people are buying this unuseless shit. They could either give you a new one without a defect or pulled them selves together and make a product that is usefull. As many truckowners neeed these rubbers to buy in the future and many complains will come elsewhere.

Martinius.

I am not really in a position to complain as the 2 pieces of glass, the gasket & installation labor were all free as my insurance company paid for everything on my 100% full glass coverages.

The windshield tech installer that showed up to replace the glass was an old guy that chewed tobbacco ... we got along great & I had fun helping him through the installation process.

I usually have to do everything by myself on all my trucks so.... it was nice for someone else to show up & help maintain my trucks while I sat in the shade & "supervised " the windshield installation.

I will end up gooping up & sealing the entire windshield gasket with this stuff anyway...

http://www.amazon.com/C-R-LAURENCE-CRL7711-Windshield-Sealant/dp/B000KZUZXC
 
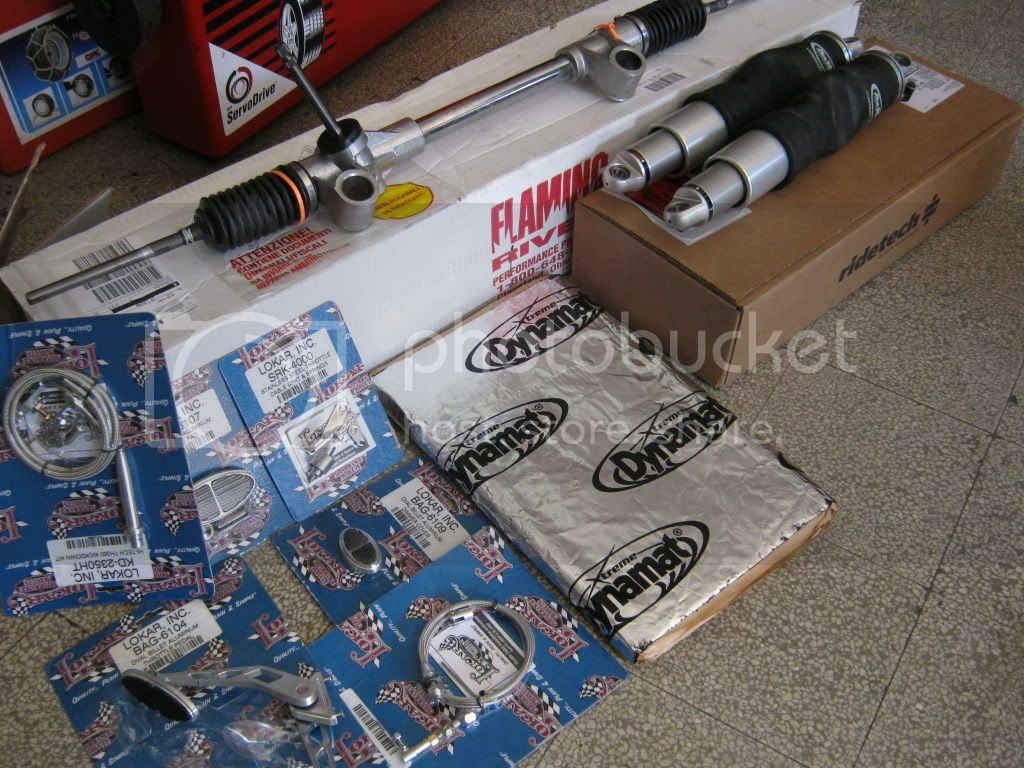
More parts arrived this morning.
Now I get to work and soon there will be new updates


MoreParts.jpg
 
Hello to all,


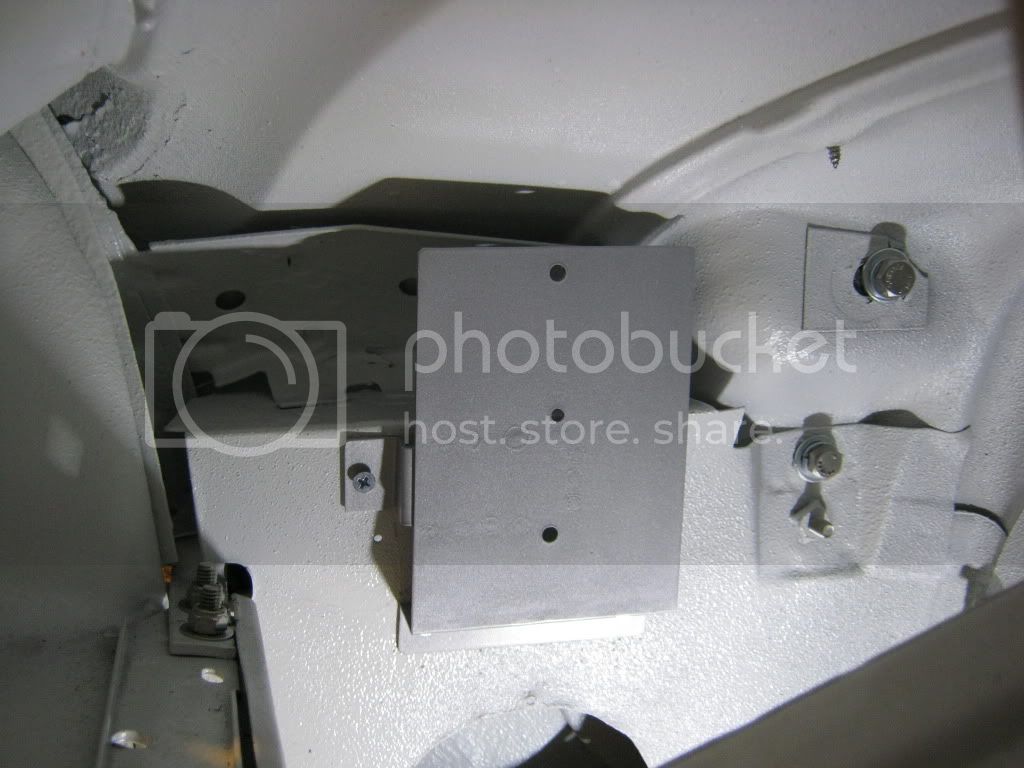
after deciding the best place (for me, under dash, driver side)
to fix the fuse box I created a bracket because I did not like leaning


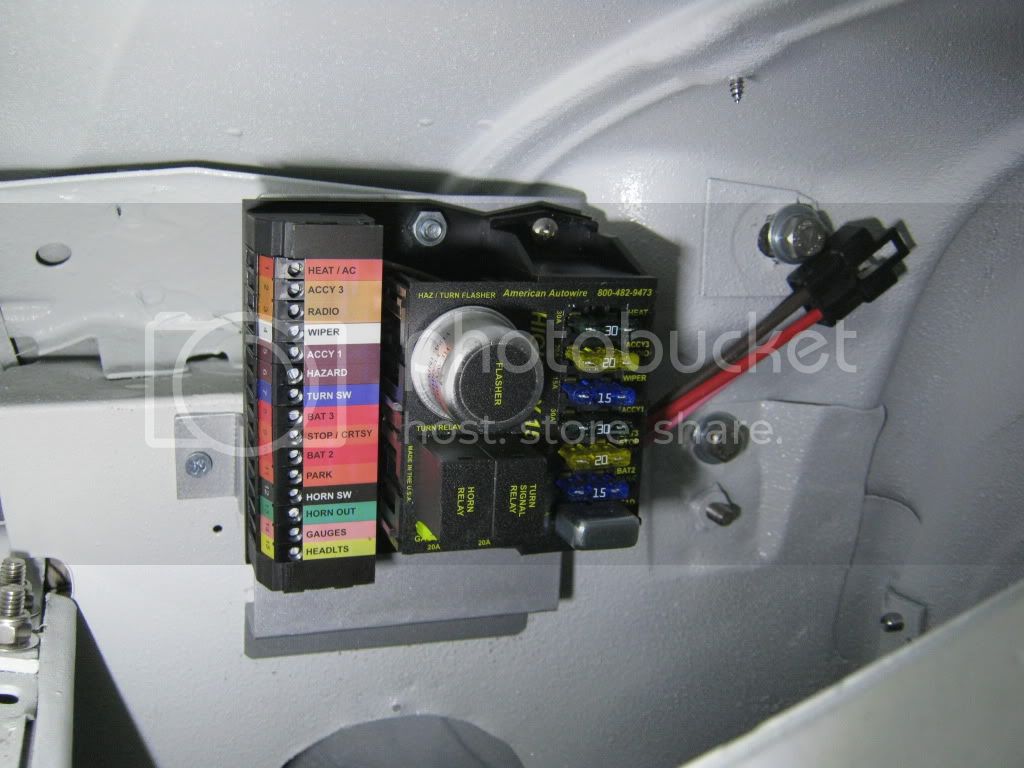
FUSE BOX LOCATION

FUSEBOXBRACKET.jpg


AmericanAutowire 15 way kit


FUSEBOXLOCATION.jpg
 
Last edited:
Frank,

The progress is great, I really like what you have done so far with rebuilding your truck.

Was wondering why the use of a drywall screw to hold your bracket for the Electrical Fuse block. Do you have access to some stovebolt screws or pan head or hex head, ( http://www.boltdepot.com/fastener-information/Type-Chart.aspx) or other than? Was just wondering seeing all the chrome plating you have done so far.
 
Frank,

The progress is great, I really like what you have done so far with rebuilding your truck.

Was wondering why the use of a drywall screw to hold your bracket for the Electrical Fuse block. Do you have access to some stovebolt screws or pan head or hex head, ( http://www.boltdepot.com/fastener-information/Type-Chart.aspx) or other than? Was just wondering seeing all the chrome plating you have done so far.


Thanks Ccharr,

the support screws are all hidden from the Dynamat insulation
and side panel. However the ones you see now is temporary screws :).

I am currently preparing the firewall and the floor before
installing the Dynamat


Frank
 
Are you going to Dynamat the entire cab? If so, how much did you get to cover entire cab? Good work so far.
 
Are you going to Dynamat the entire cab? If so, how much did you get to cover entire cab? Good work so far.


Hi Raz76,

I put the dynamat only on the inner firewall and floor.
In the doors, below the top, under the seat bench and in the rear of the cab put another type of insulating.


Thanks


Frank
 
Hello everyone,

some little updates :).


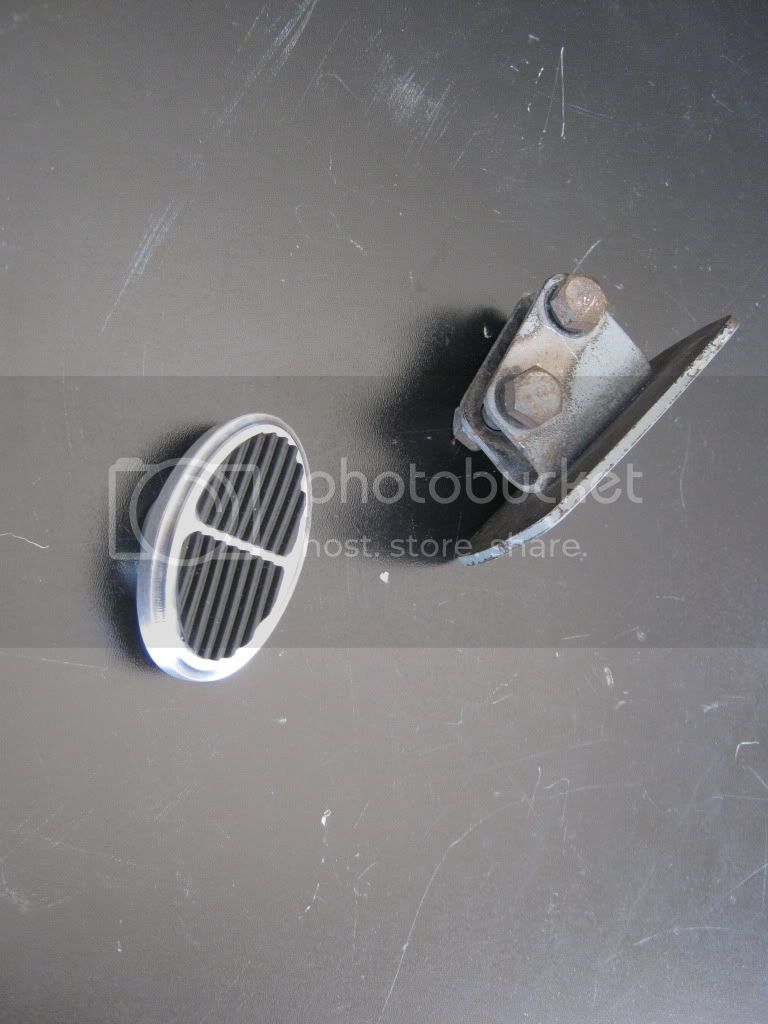
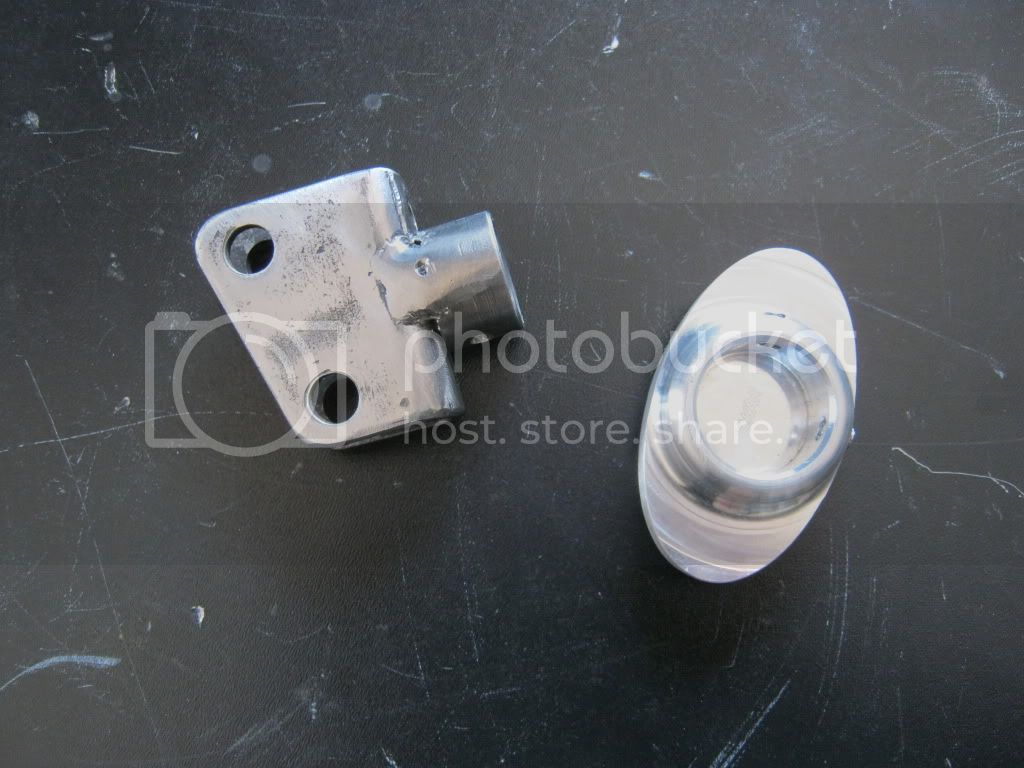
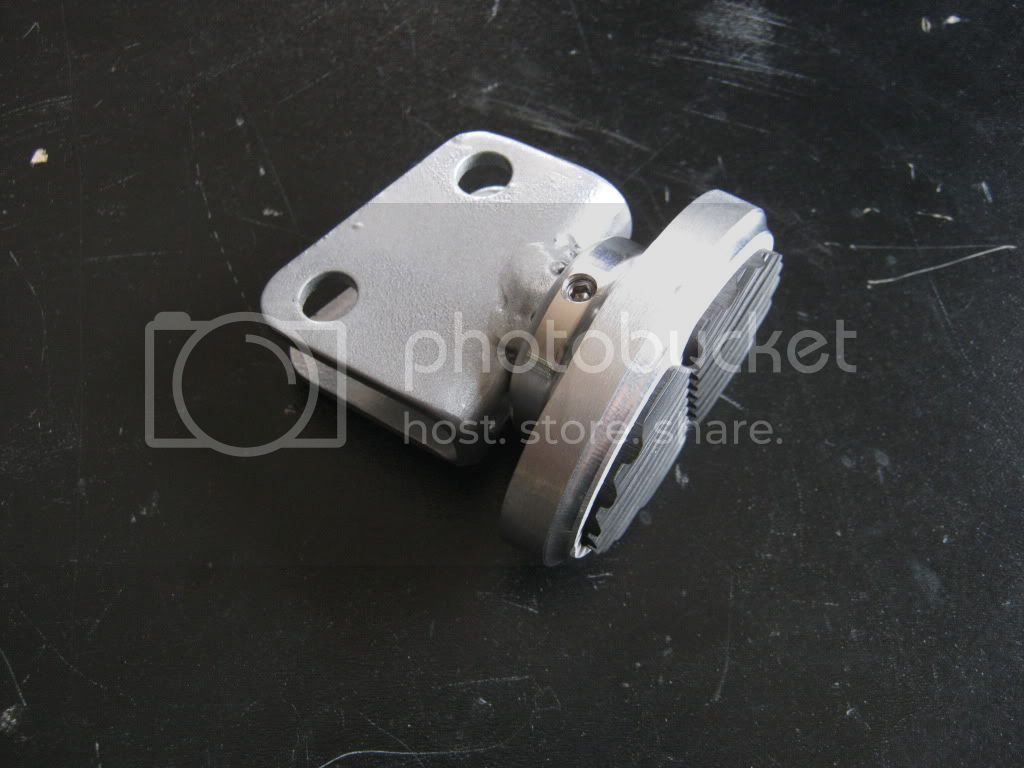
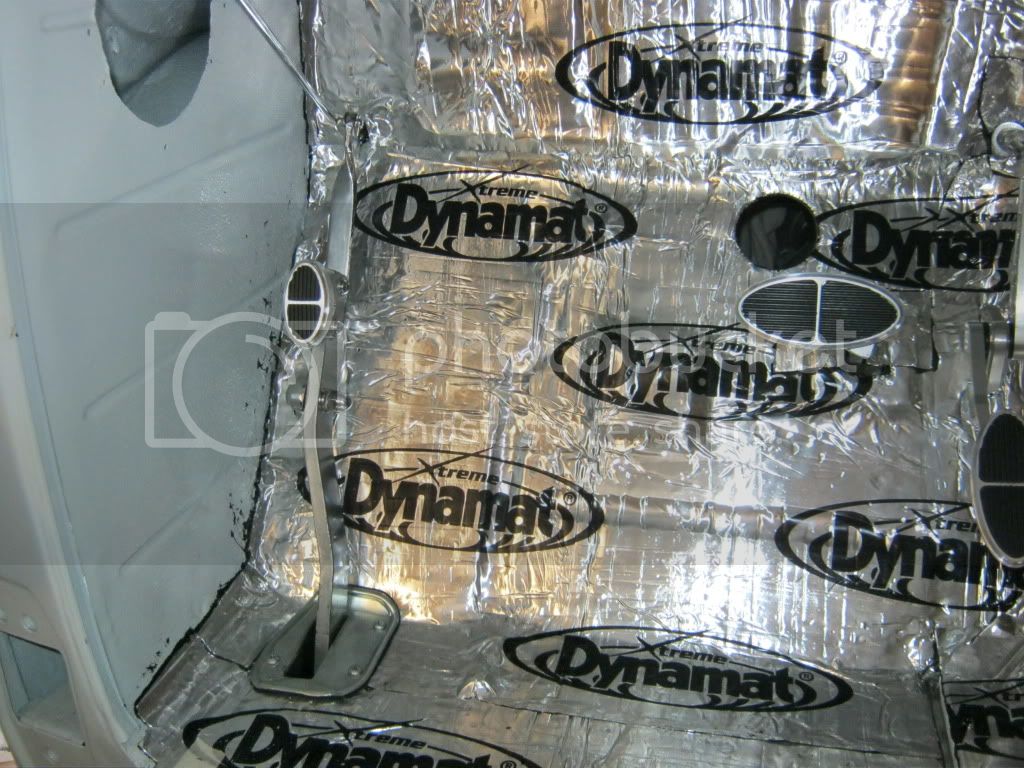
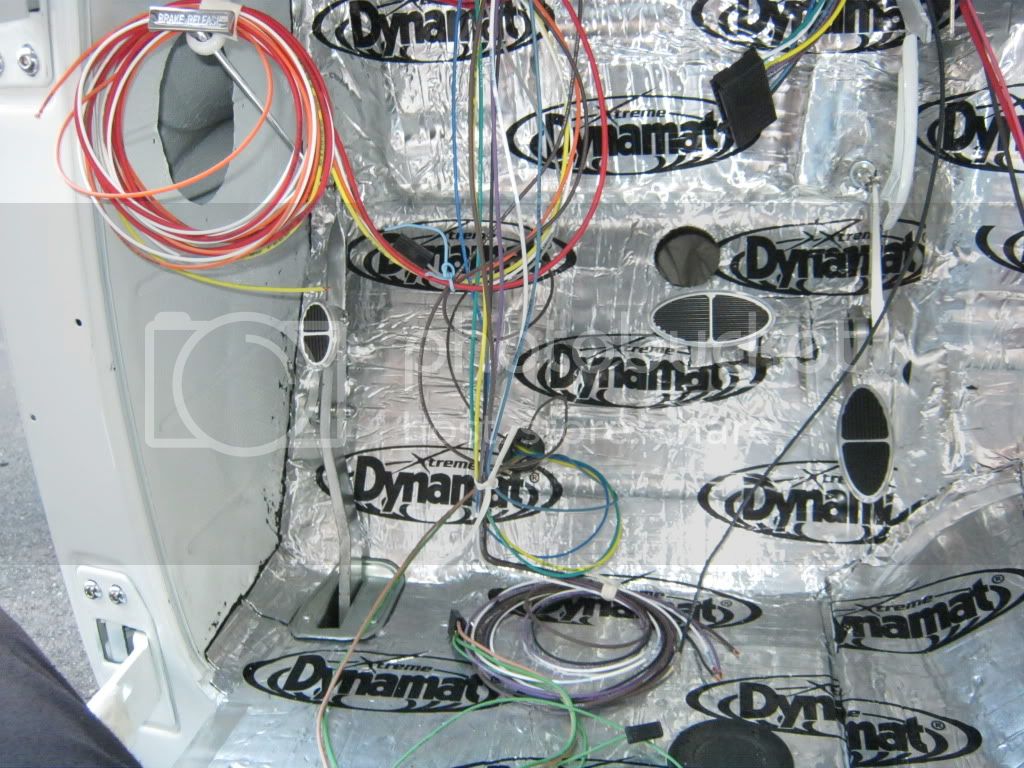
I started to install the dynamat insulation and pedals, and for the parking brake pedal I bought a Dimmer switch Pad and I thought to do so


PARKBRAKEPAD1.jpg


I separated the two pieces


PARKBRAKEPAD2.jpg


PARKBRAKEPAD3.jpg


PARKBRAKEPAD4.jpg


Assy...

PARKINGBRAKEPEDALASSY.jpg


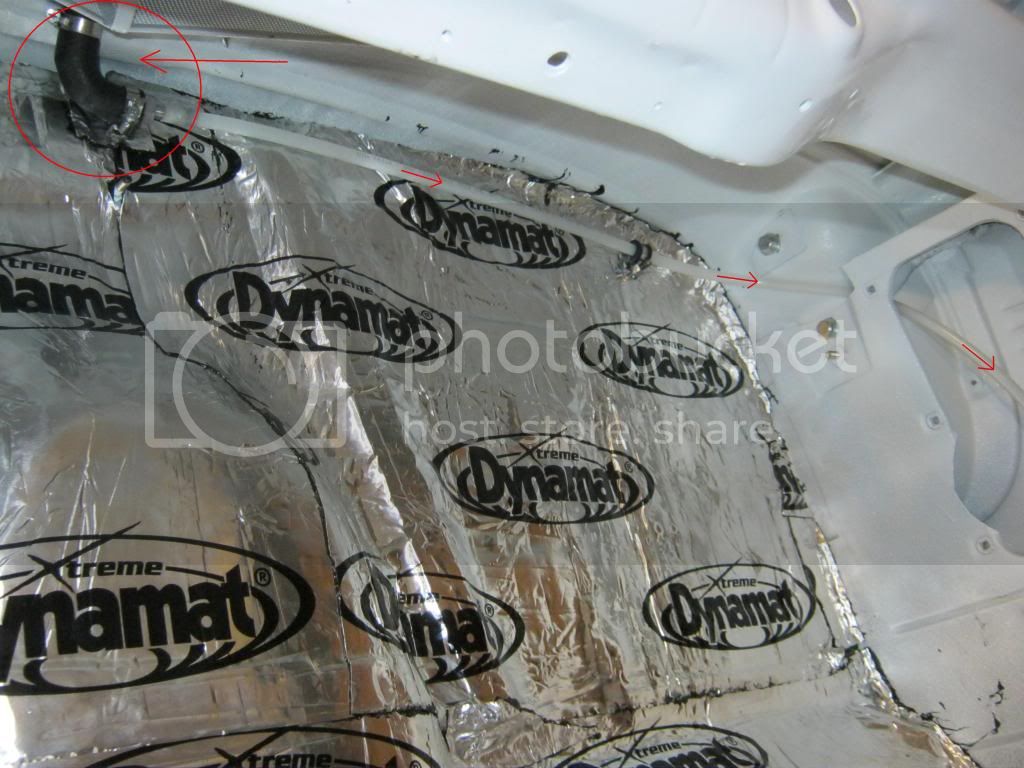
I have also modified the top cowl vent drain hose to avoid that water falling on the engine.

No need to make any holes I used the existing


TOPCOWLVENTDRAINHOSE1.jpg


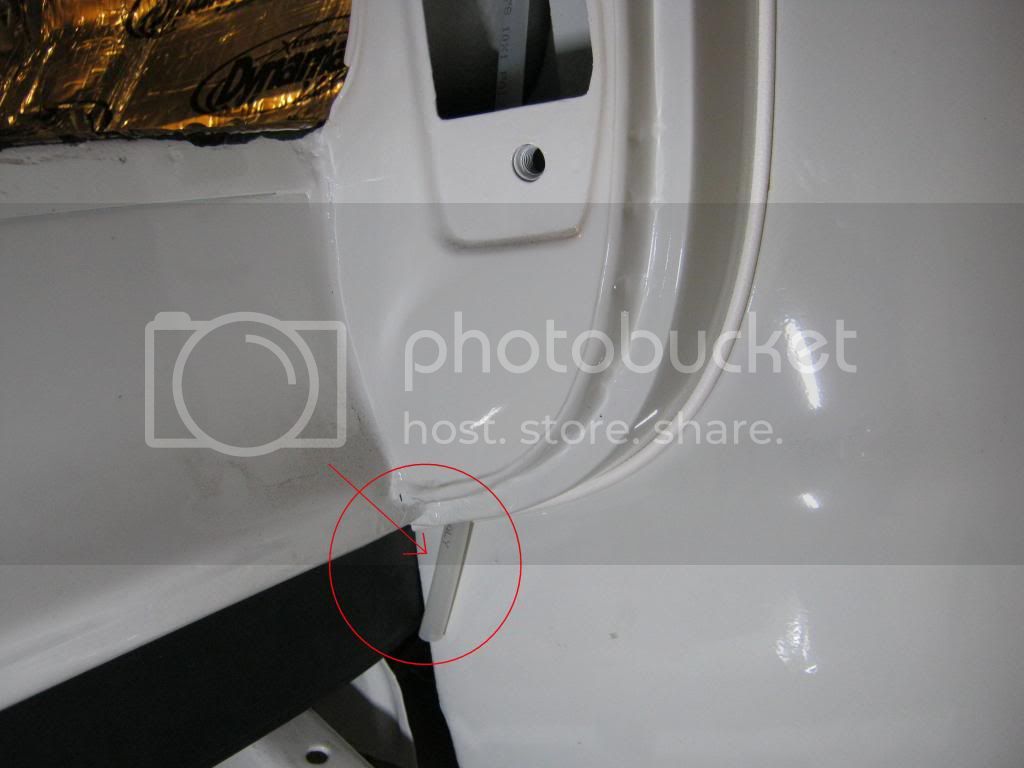
Now the drain hose comes out the bottom next to the passenger door


TOPCOWLVENTDRAINHOSE2.jpg


I hope that these solutions are helpful for someone. If you have questions do not hesitate to ask
 
More pics today


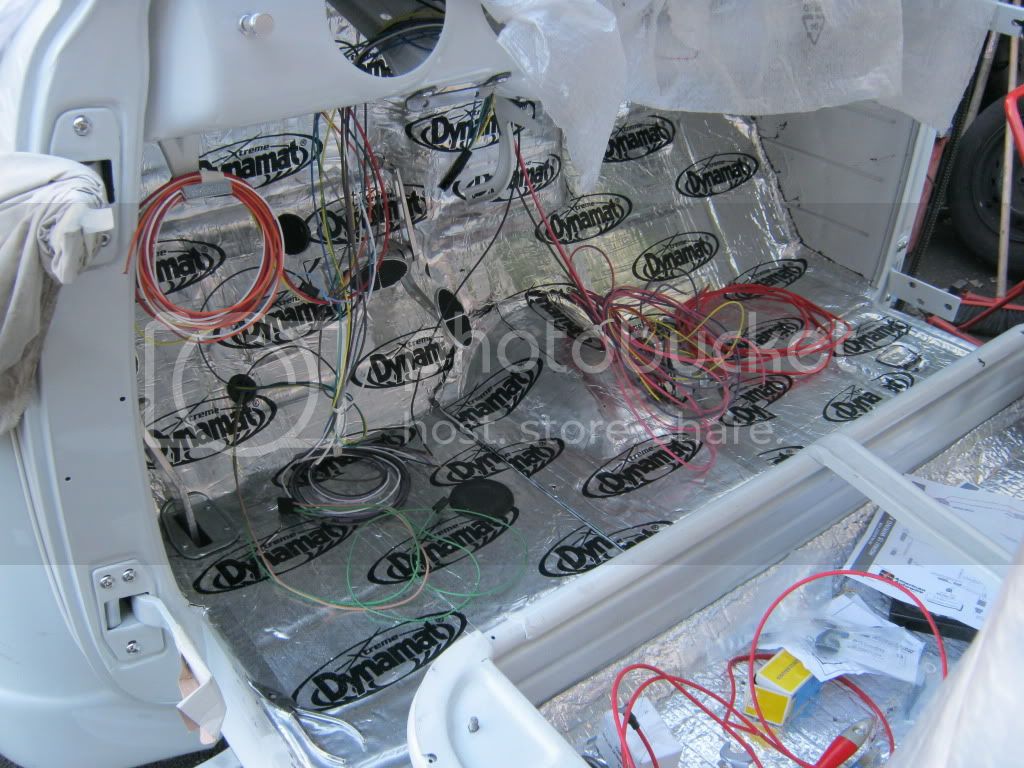
Wiring harness assembly...will work very long


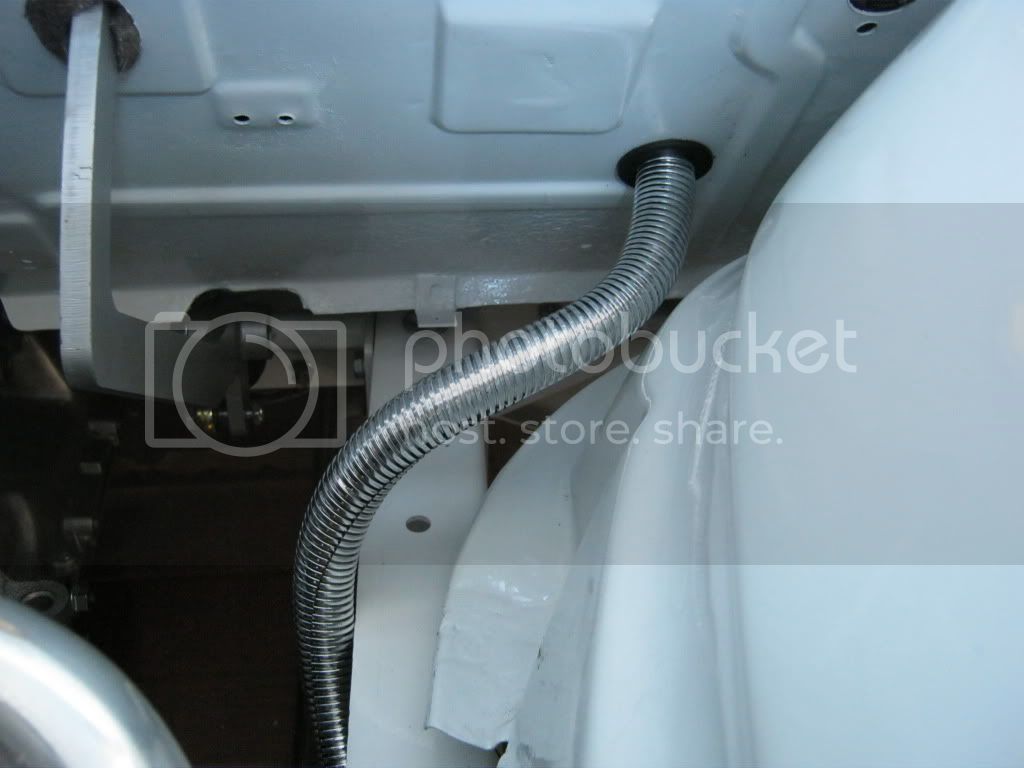
I chose to route the wirse down and pass them within the frame rail


WIRINGPASS.jpg


WIRINGINSTALL1.jpg


WIRINGINSTALL2.jpg


Details. Today I tought to install the door but I decided to wait until I finish

the wiring harness


DETAILS5.jpg


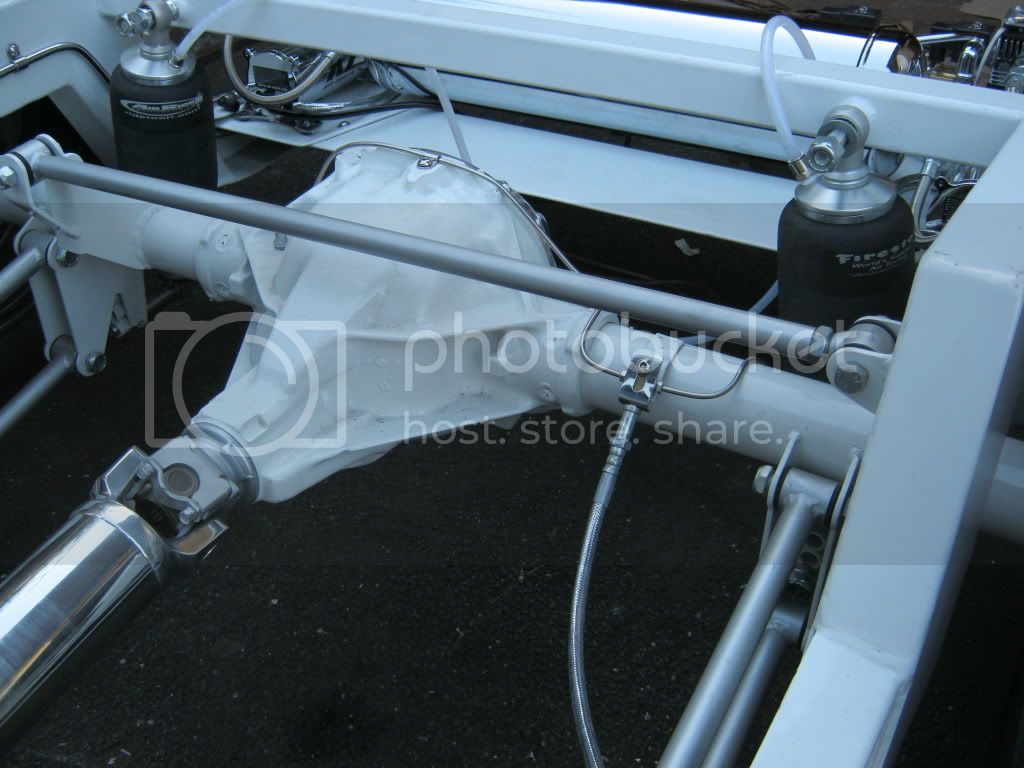
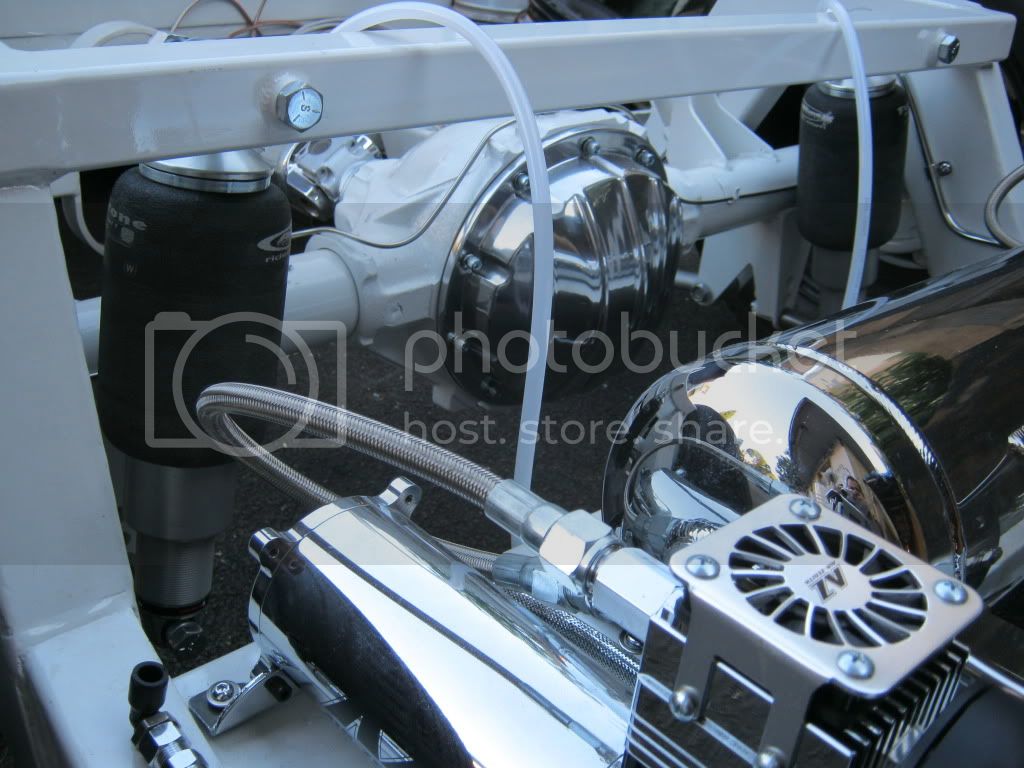
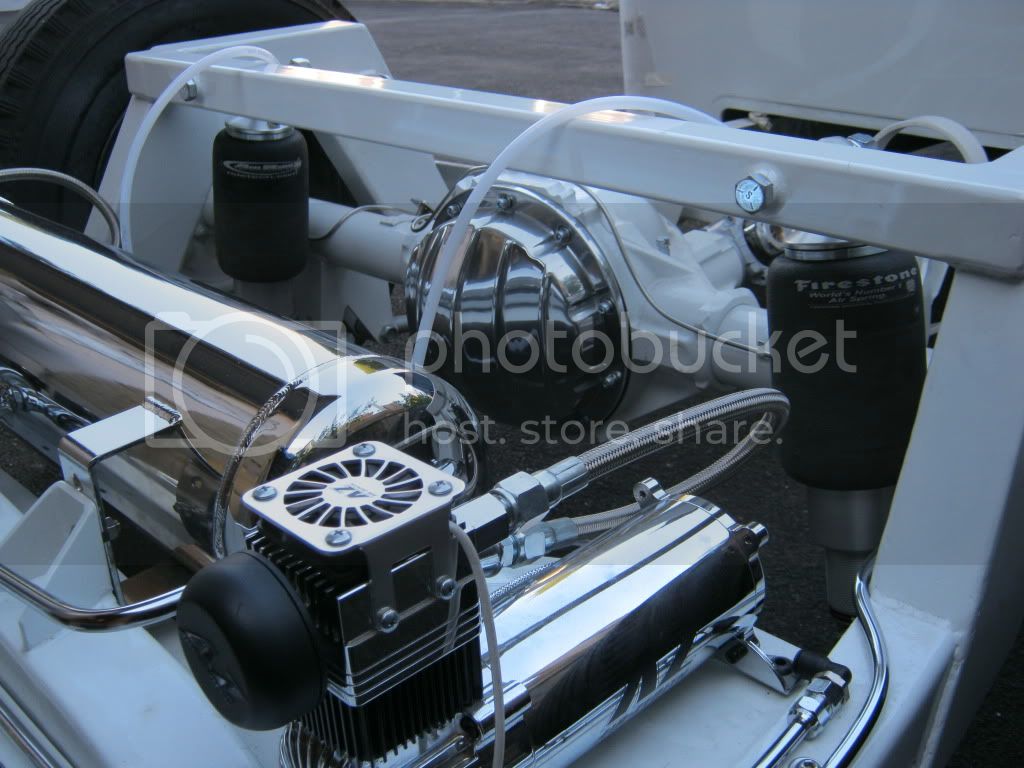
I installed also the rear shockwave and rear brake line


MYSKW1.jpg


MYSKW2.jpg


MYSKW3.jpg


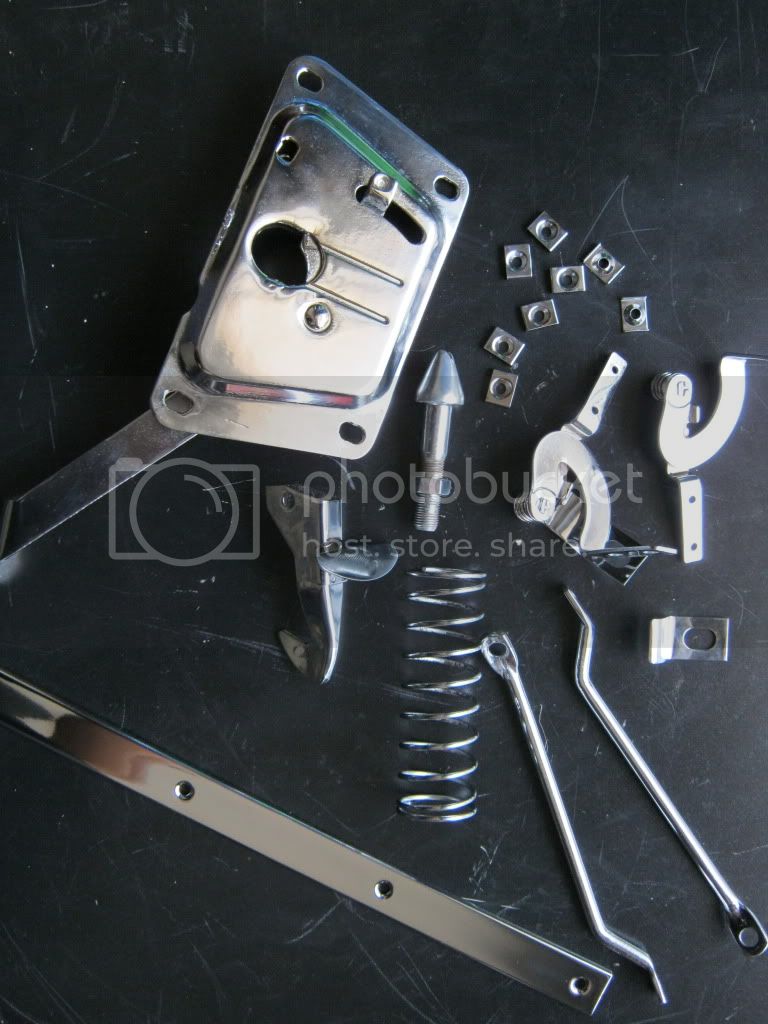
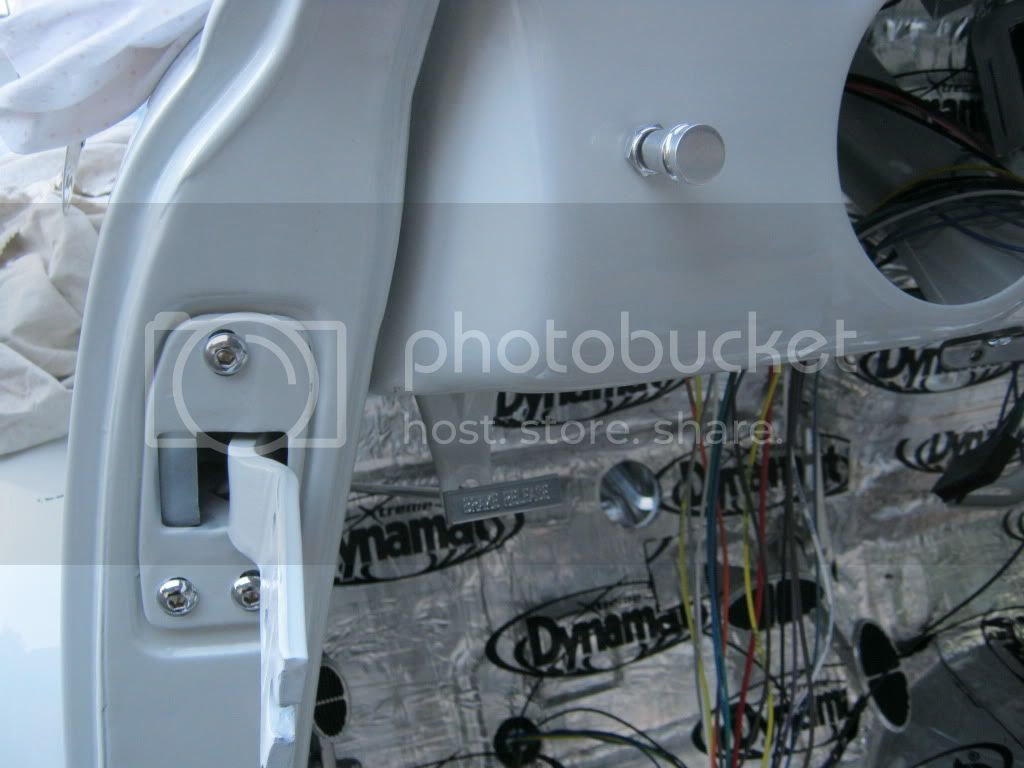
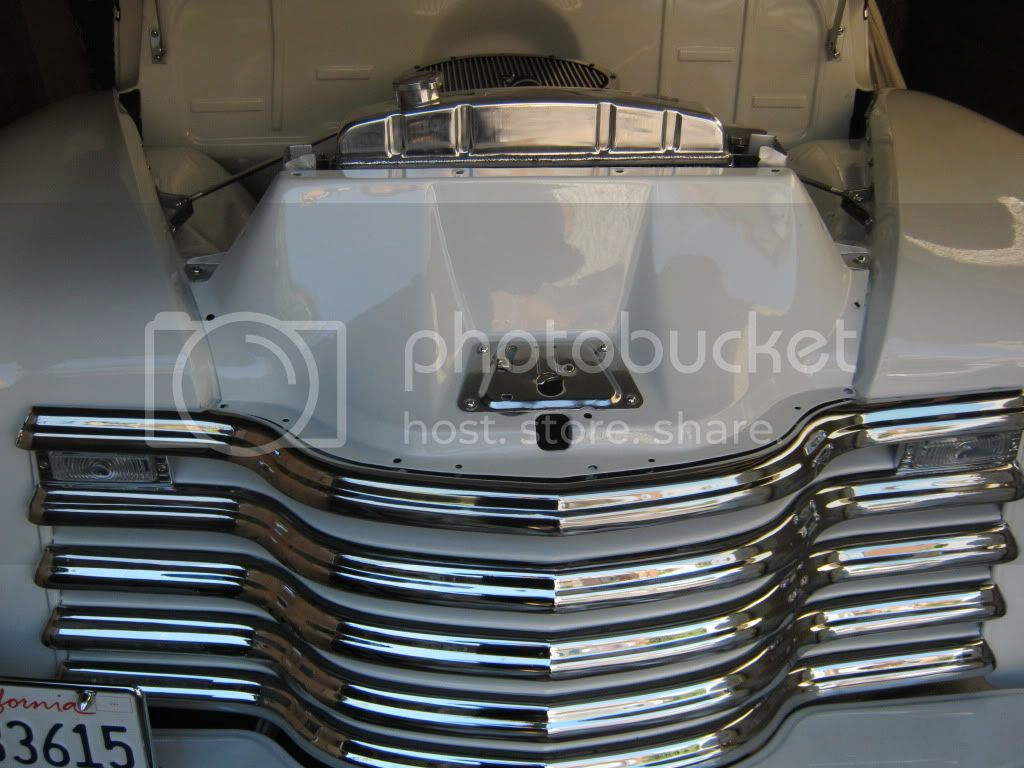
Latch panel with rechromed parts


HOODLATCH.jpg


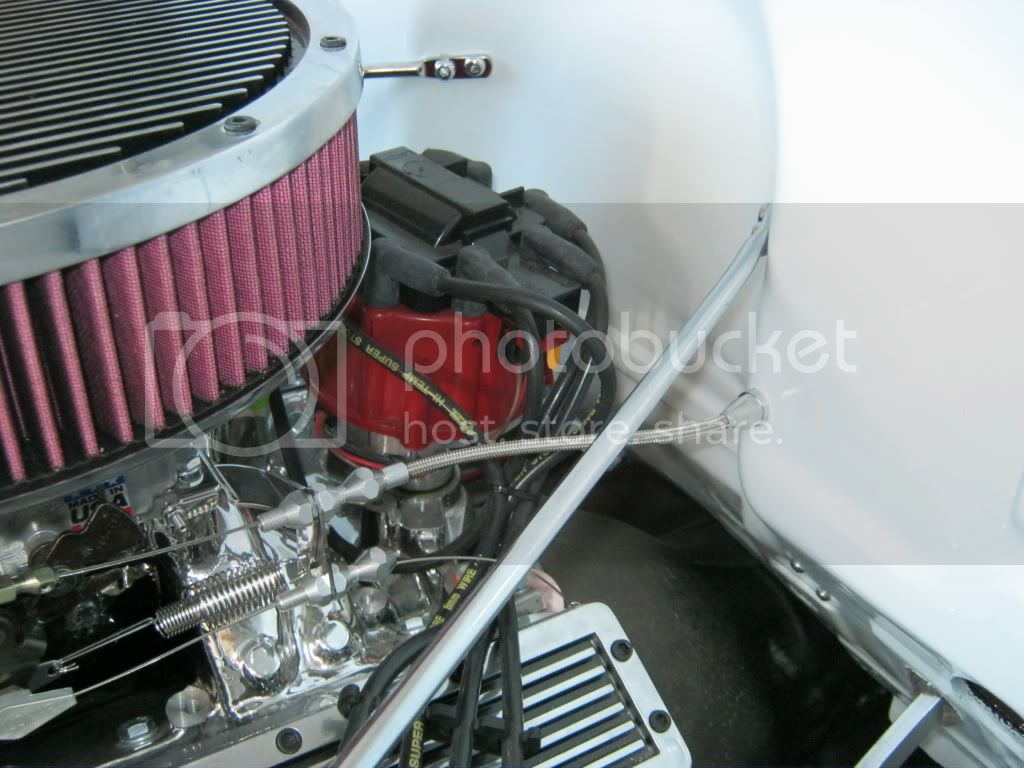
Throttle and kickdown cable installed


THROTTLECABLE.jpg
 
MAN! That wiring sure looks like FUN!!! ;)

I like what you did with the parking brake!
 
Back
Top