Generator
Martinus ;
Is this old generator applied with a RED DELCO tag ? .
Red tags mean 12 volts , black tags mean 6 volts .
The connection is very simple : three wires , the thickest terminal on the gen. is the armature connection , the thin one is the field connection and that empty . threaded hole next to the threaded terminals is the ground connection , very important for proper charging ! .
Use a 1/8" long screw so you don't damage the field windings inside .
New voltage regulators are available , look up 1959 Chevy anything and jot down the DELCO P/N then begin searching .
Many aftermarket regulators are direct copies of the old DELCO units so you can drill out the rivets and place your re painted original cover on a new off brand regulator and no one will ever know .
The DELCO generators don't put out much current , maybe 25 amperes ? enough though so not to worry but do expect the head lights to dim or flicker @ idle speeds .
Unless you've replaced the commutator end bushing , it's -NOT- rebuilt yet and will chew up brushes fairly quickly ~ lucky for you the bushings are cheap , easily available and easy to replace too .
I've forgotten what the drive end ball bearing # is , maybe 202 ? if you add "" CC" or "PP" to the end of the correct part # , you'll get a modern , fully closed bearing that needs no oiling and will last forever .
You'll almost certainly have to shuffle the spacers & shims on the drive end of the armature though , be ready for this and don't panic , just take it back apart and shim until the cover slides right into place .
Non Power Steering Oldsmobiles and Pontiacs had slightly higher output 12 volt generators in the late 1950's , back in the day we'd use them on tow and shop trucks to increase charging .
DO NOT screw things up by " flashing " or " polarizing " the generator unless it refuses to charge after you're all done .
It is *vitally* important that you use a three wire sub harness and ground the voltage regulator directly to the generator , this ensures proper field exciting , hence good charging , no pitted / burned regulator points and so on .
Thick , 1.5 M wires too , good one with lots and lots of strands ~ many cheaper brands of wire have few actual strands and are not good current carriers .
To easily test the gennie before doing anything else , make up a jumper lead that bridges both terminals on the unit then connect this lead to the " + " terminal on a fully charged 12 volt battery , then touch the negative lead from said battery to the gennie's case ~ I use the mounting ear . it should begin to spin freely , not overly fast though .
have fun and let us know how it all works out .


 . Some years ago i overhauled the Heavy thing and its working just fine.
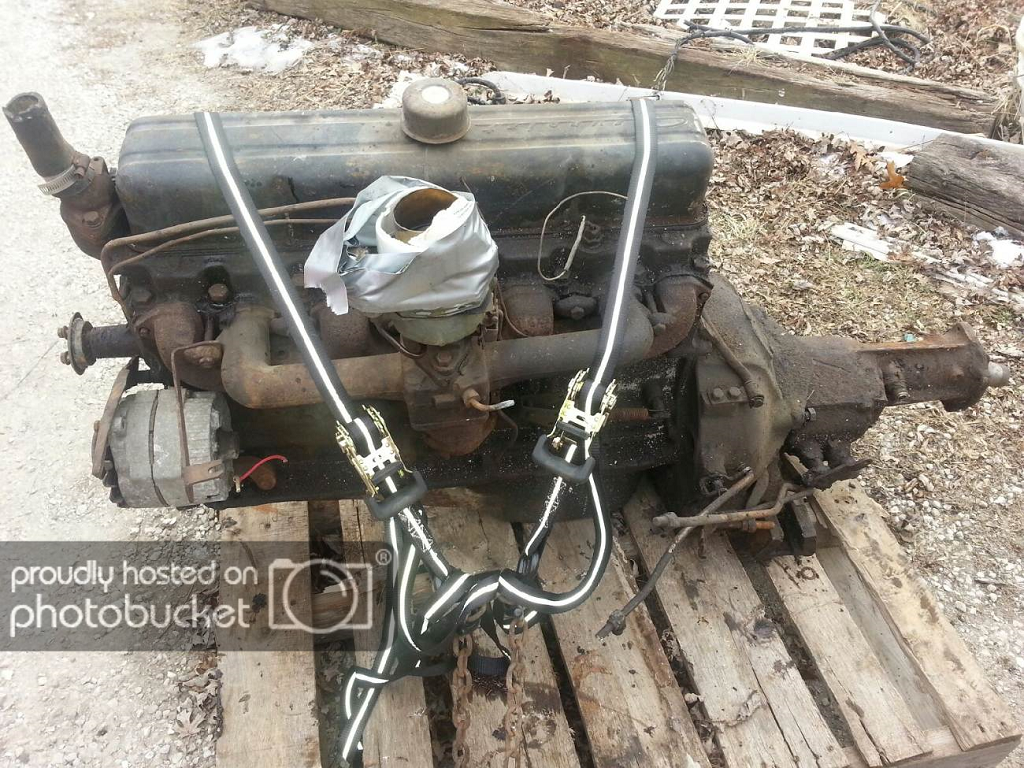


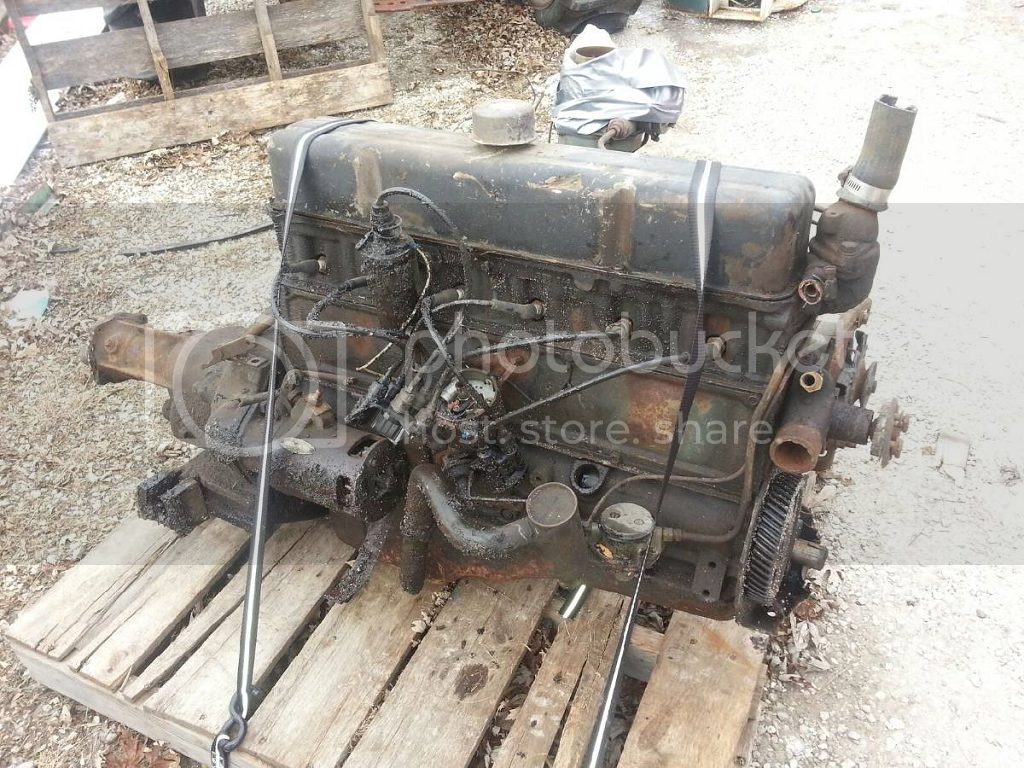

 .
. .
.